
Are you tired of running the same tests repeatedly or manually deploying your code? GitHub Actions is here to save the day! GitHub Actions, the ultimate way to automate all the tasks [especially boring ones] in your development workflow and to free you from repetitive tasks and letting you focus on what truly matters: writing great code.
GitHub Actions makes automation easy and saves you from unnecessary stress of deployment. In this article, we will break down GitHub Actions, why this is awesome and how you can use it to automate your workflow.
What is GitHub Actions?
GitHub Actions is like that “bhai jaisa dost” — always there when you need it, ready to lend a helping hand without asking for anything in return. It is GitHub’s built-in CI/CD tool that automates tasks like running tests, building projects and deploying code. Whenever you push new codes, create a PR or make any changes in the GitHub repo, you can trigger it.And yes, it runs on YAML, not the most exciting thing but it’s worth learning.
Why You Should Use It?
If you already have working setup and you are wondering “why should I add another tool to it?”. Here is why you should add it:
- No More “works on my machine”: Since everything runs in a controlled environment, you can say goodbye to these weird phrases, I know you’ll still use it but that would be only to give excuses.
- Avoid Boring stuffs: Running tests, deployments and code linting manually? Why so much stress and suffer when your bro GitHub Actions’s automation is there for you.
- It’s Free [Mostly]: GitHub gives free minutes for public repositories and a good amount for private ones as well.
- Integrate Everything [Almost]: Want to send a alert mail on every PR raised or merged? Automatically deploy to a VM [AWS/Azure or any others]? There’s an action for almost everything.
- Easy to Setup: Setting up GitHub actions on your repo is like eating “daal chawal”, zero efforts required. Follow the below mentioned process.
Setting Up Your First GitHub Action
Let’s set up a simple GitHub action that runs tests whenever code is pushed on main branch. This way, your group project won’t break just because someone thought ‘this small syntax change won’t affect anything’.
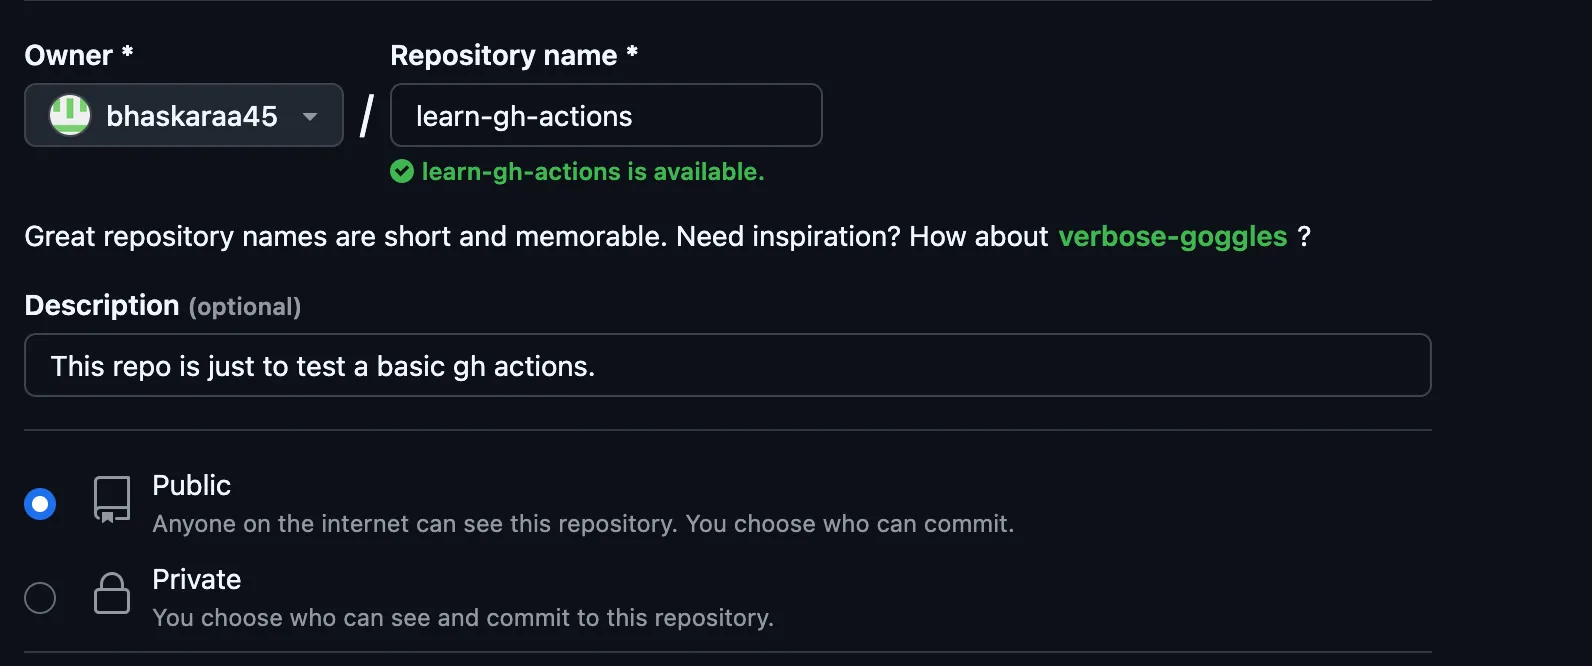
Step 1: Create a GitHub Repo
So first we need to create our repo [where we will store our codes]. Go here github.new, and fill with the basic data and then create repository.
 After creating push your codes to this repo using the commands given by GitHub.
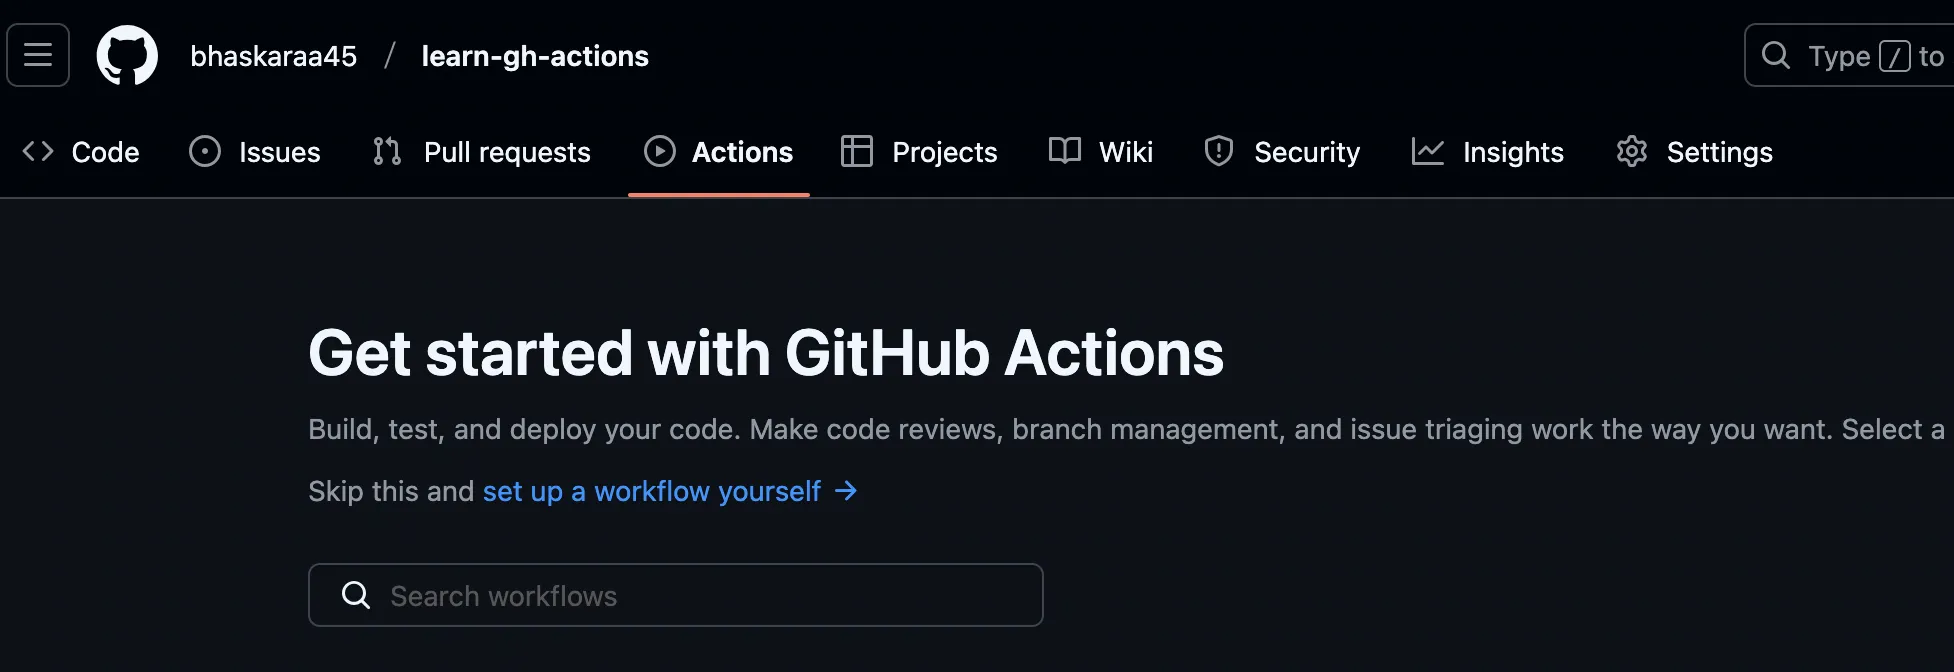
Step 2: Create a .github/workflows Directory
Inside your repo, create a directory named .github/workflows. This is where your automation scripts will stay.
Or you can open the “Actions” tab and click on set up a workflow yourself.
Step 3: Write a workflow
Create a file inside .github/workflows and name it ci.yml [or whatever makes sense to you]. Example YAML:
name: Run Tests Before Build

on:
  push:
    branches:
      - main

jobs:
  test:
    runs-on: ubuntu-latest
    name: Running Tests

    steps:
      - name: Checkout Code
        uses: actions/checkout@v2

      - name: Set up Node.js
        uses: actions/setup-node@v4
        with:
          node-version: 22

      - name: Install Dependencies
        run: npm install

      - name: Run Tests
        run: npm run test

  build:
    runs-on: ubuntu-latest
    name: Building The App
    needs: test  # This ensures build only runs after tests pass

    steps:
      - name: Checkout Code
        uses: actions/checkout@v2

      - name: Set up Node.js
        uses: actions/setup-node@v4
        with:
          node-version: 22

      - name: Install Dependencies
        run: npm install

      - name: Building
        run: npm run build
A workflow file consists of several components: - Name: A descriptive name for your workflow. - On: The event that triggers the workflow, such as push or pull_request. - Jobs: A list of jobs to run, each containing steps. - Steps: Individual tasks within a job, such as checking out code or running tests.
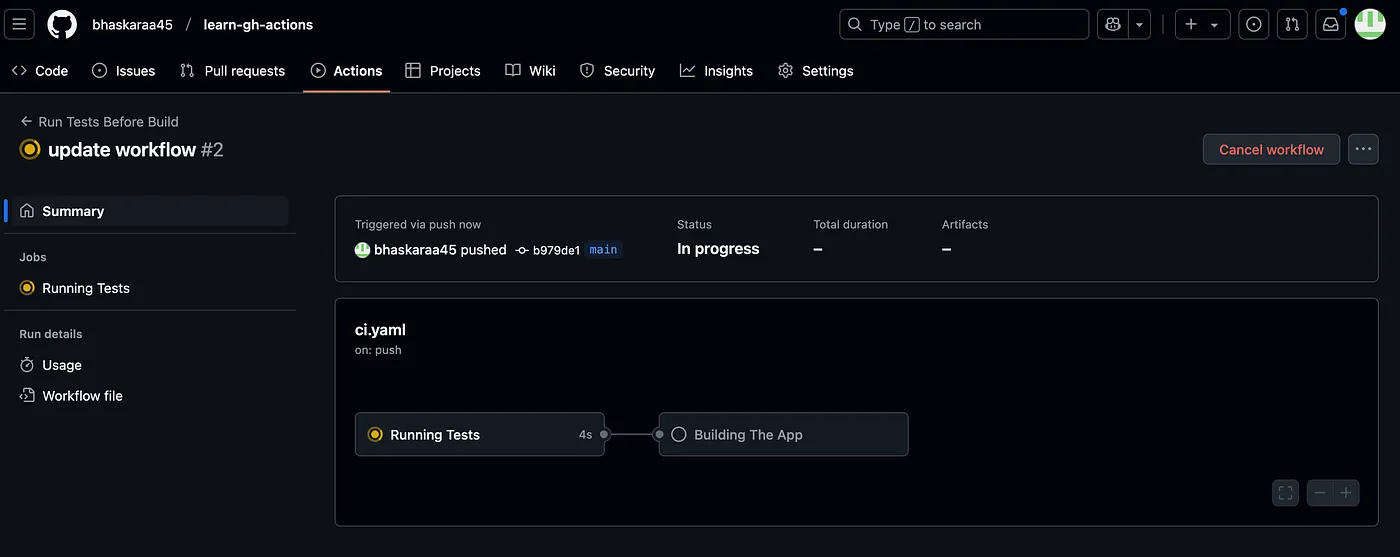
Step 4: Push a commit to your repo
Push a commit to the repo and check out the “Actions” tab. Your tests will now run automatically like the below image.
Workflow is running:
After successful build:

Advanced Features of GitHub Actions
Once you’re familiar with the basics, explore these advanced features:
- Custom Actions: Create reusable actions to encapsulate common tasks and share them across workflows.
- Environment Variables: Use environment variables to pass data between steps and jobs.
- Secrets: Securely manage sensitive information like API keys using GitHub Secrets.
- Artifacts: Share data between jobs by uploading and downloading artifacts.
Pro Tips for Smooth Automation
- Use Secrets for API Keys — Don’t hardcode sensitive information. Use GitHub Secrets like a responsible developer.
- Cache Dependencies — Saves time by not reinstalling everything from scratch. Your future self will thank you.
- Use Prebuilt Actions — Instead of creating things from scratch, use existing actions from GitHub Marketplace.
Conclusion
GitHub Actions is an essential tool for any developer, especially if you are working on projects with a team. It keeps things smooth, automated and saves you from last minute debugging chaos. By automating repetitive tasks, you can focus on writing code and delivering features. So, start experimenting with GitHub Actions today and see how it can transform your projects.